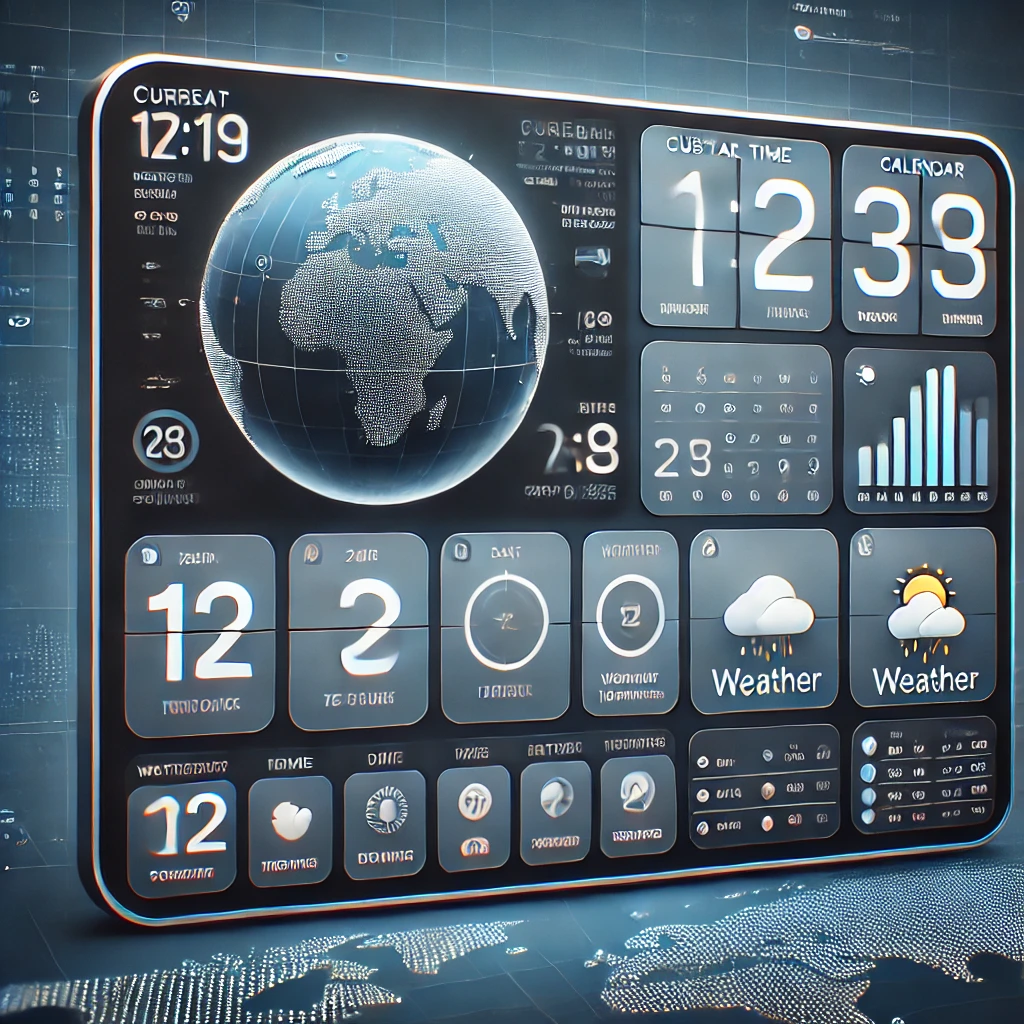
Building a digital clock and calendar that updates in real-time is a fantastic project to hone your JavaScript skills. By following this guide, you’ll create a sleek, user-friendly application that not only displays the time and date but also provides local weather updates, allows for theme switching, and lets you set reminders. Let’s dive into the step-by-step process.
Step 1: Setting Up Your Digital Clock
First, create a new folder for your project and inside it, create three files: index.html, styles.css, and script.js. These files will hold the structure, styling, and functionality of your application, respectively.
Step 2: Designing the Interface
Start by designing a clean and bold interface with HTML and CSS. Here’s the code for your index.html file:
<!DOCTYPE html>
<html lang="en">
<head>
    <meta charset="UTF-8">
    <meta name="viewport" content="width=device-width, initial-scale=1.0">
    <title>Digital Clock and Calendar</title>
    <link rel="stylesheet" href="styles.css">
</head>
<body class="light">
    <div id="clock" class="time-display"></div>
    <div id="calendar" class="date-display"></div>
    <div id="weather" class="weather-display"></div>

    <div class="controls">
        <button id="toggleFormat" class="button">Switch Format</button>
        <select id="themeSelector" class="button">
            <option value="light">Light Theme</option>
            <option value="dark">Dark Theme</option>
        </select>
        <input type="text" id="reminderInput" class="input" placeholder="Set Reminder at HH:MM"/>
        <button onclick="setReminder()" class="button">Set Reminder</button>
    </div>

    <script src="script.js"></script>
</body>
</html>
Step 3: Styling your Digital Clock
Next, add some styles to make your application visually appealing. Here’s the code for your styles.css file:
body {
    display: flex;
    flex-direction: column;
    align-items: center;
    justify-content: center;
    height: 100vh;
    background-color: #f4f4f4;
    font-family: 'Arial', sans-serif;
    color: #333;
    margin: 0;
}

.time-display, .date-display, .weather-display {
    margin: 10px;
    font-size: 2em;
    font-weight: bold;
    text-align: center;
}

.controls {
    display: flex;
    flex-direction: column;
    align-items: center;
    gap: 10px;
    margin-top: 20px;
}

.button, .input, .select {
    padding: 10px 20px;
    cursor: pointer;
    background-color: #007BFF;
    color: white;
    border: none;
    border-radius: 5px;
    font-size: 16px;
    text-transform: uppercase;
    letter-spacing: 1px;
    margin: 5px;
}

.input {
    padding: 10px;
    border: 1px solid #ddd;
    border-radius: 5px;
    font-size: 16px;
    color: #333;
    background-color: #fff;
}

.select {
    padding: 10px;
    border: 1px solid #ddd;
    border-radius: 5px;
    font-size: 16px;
    color: #333;
    background-color: #fff;
}

.light {
    background-color: #f4f4f4;
    color: #333;
}

.dark {
    background-color: #333;
    color: #f4f4f4;
}

.light .time-display, .light .date-display, .light .weather-display {
    color: #333;
}

.dark .time-display, .dark .date-display, .dark .weather-display {
    color: #f4f4f4;
}

.button:hover {
    background-color: #0056b3;
}
Step 4: Adding JavaScript Functionality
Now, it’s time to bring your application to life with JavaScript. This script will handle updating the time, displaying the date, fetching weather data, switching themes, and setting reminders. Here’s the code for your script.js file:
window.onload = function() {
    const clock = document.getElementById('clock');
    const toggleFormatBtn = document.getElementById('toggleFormat');
    let is24Hour = true;

    function updateTime() {
        const now = new Date();
        let hours = is24Hour ? now.getHours() : (now.getHours() % 12 || 12);
        let minutes = now.getMinutes().toString().padStart(2, '0');
        let seconds = now.getSeconds().toString().padStart(2, '0');
        let ampm = !is24Hour && now.getHours() >= 12 ? 'PM' : 'AM';
        clock.textContent = `${hours}:${minutes}:${seconds} ${!is24Hour ? ampm : ''}`;
    }

    function updateDate() {
        const now = new Date();
        document.getElementById('calendar').textContent = now.toDateString();
    }

    async function updateWeather() {
        const apiKey = 'your_api_key_here';
        const response = await fetch(`https://api.openweathermap.org/data/2.5/weather?q=YourCity&appid=${apiKey}&units=metric`);
        const data = await response.json();
        document.getElementById('weather').textContent = `Temp: ${data.main.temp}°C, ${data.weather[0].description}`;
    }

    toggleFormatBtn.addEventListener('click', () => {
        is24Hour = !is24Hour;
        updateTime();
    });

    document.getElementById('themeSelector').addEventListener('change', function() {
        document.body.className = this.value;
    });

    setInterval(updateTime, 1000);
    updateDate();
    updateWeather();
};

function setReminder() {
    const reminderInput = document.getElementById('reminderInput');
    const reminderTime = reminderInput.value;
    const now = new Date();
    const [hours, minutes] = reminderTime.split(':').map(num => parseInt(num, 10));
    const reminderDate = new Date(now.getFullYear(), now.getMonth(), now.getDate(), hours, minutes);

    const msUntilReminder = reminderDate - now;
    if (msUntilReminder > 0) {
        setTimeout(() => alert('Reminder!'), msUntilReminder);
    }
    reminderInput.value = ''; // Clear input after setting a reminder
}
Step 5: Using Your Digital Clock and Calendar
To use your new digital clock and calendar, simply open the index.html file in your favorite web browser. This will display the time, date, and weather, and allow you to switch themes and set reminders.
For more permanent access, consider creating a desktop shortcut to the index.html file or packaging your web app into a desktop application using technologies like Electron.
Enhancements and Customizations
Feel free to further enhance your application by:
- Adding more themes.
- Displaying additional weather details.
- Incorporating sound notifications for reminders.
Conclusion
Creating a digital clock and calendar with JavaScript is a rewarding project that enhances both your coding skills and your understanding of user interface design. This practical application serves as a personal assistant, keeping you updated with the time, date, weather, and your reminders, all wrapped in a sleek, modern design.
Happy coding
